The global renewable energy revolution remains in full swing. In the US alone, enough solar energy was generated to power over 16 million homes by the end of 2020, according to the Solar Energy Industries Association. This steady uptick in adoption means that tech is advancing steadily as well, and now is the best time ever to start tapping into the near-limitless potential of solar energy. Here’s a simple step-by-step guide to help you do just that.
Assess Your Power Needs
The main purpose of adding solar power to your home would be to supplement your energy supply. Hence, it would be necessary to measure just how much of your energy needs solar power can fulfill. This is relatively simple to do. You just have to calculate the watt-hour consumption of each appliance by multiplying its power rating with how many hours you use it for every day. Add these watt-hour usages up, and there you have your total daily power usage.
Cross-referencing this with your monthly or annual electricity bills can provide a clearer and more precise picture of your energy needs. Your budget will determine how much solar power gear you can buy, and therefore how much of your total needs you can supply through solar. You can then increase the budget, and therefore the scale of your solar power system, if you want more of your power usage to come from solar energy. Your watt-hour calculations for each individual appliance will also tell you which of them you should focus on providing solar power for.
Explore Your Options
Once you’ve determined how much solar power you need, it’s time to look at what options you have to fulfill those needs. The basic system requires you to purchase a reliable and efficient set of panels, one or more batteries to store the energy, and an inverter to deliver AC power to your appliances. The right panel for you will likely depend on a compromise between budget and available surface area, since more compact and efficient panels tend to be pricier. The batteries you purchase should collectively be able to charge up to the amount of power you need to draw from them with a single day’s worth of sunlight.
As for your inverter, the type that offers maximum compatibility is the pure sine wave inverter. But depending on what appliances you want to run on solar, a modified sine or even a square wave inverter may suffice. Pure sine, modified sine, and square wave are in decreasing order of compatibility and efficiency, but also of complexity and cost.
Set Everything Up
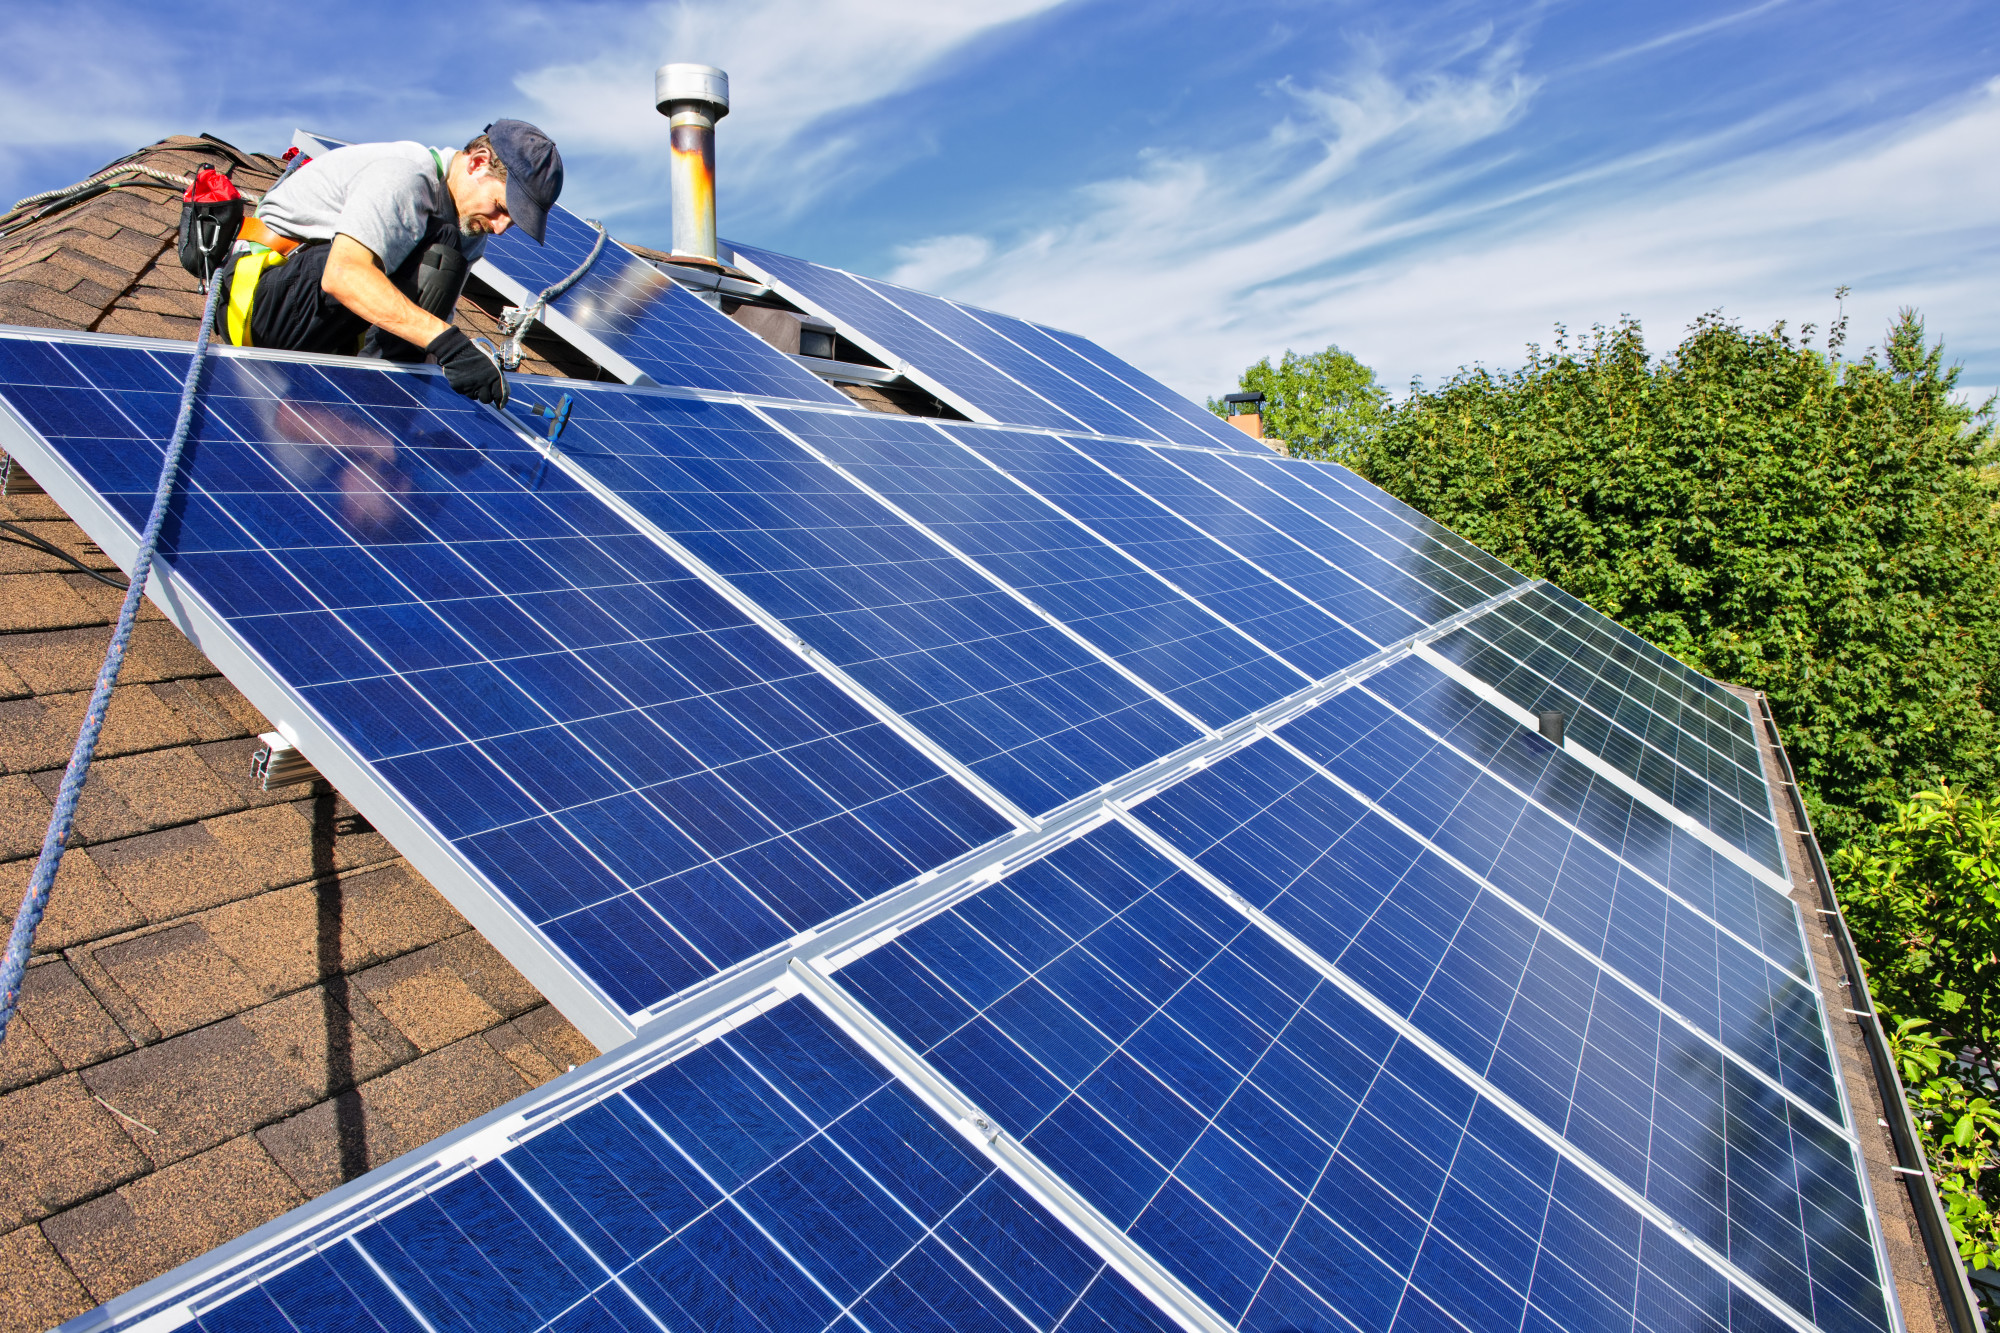
Once you’ve got your solar power equipment together, it’s time to set it all up. Panels are traditionally set up on roofs where they’re out of the way and get the most sunlight, but any clearing will do. In fact, it would probably be ideal. Having a dedicated space for panels frees you up to build or purchase mounting stands that let you tilt the panels. This allows you to align them to your latitude angle, enabling them to get the most amount of sun possible throughout the day.
Afterwards, set up the wiring and controllers. Remember that black wire is negative and red wire is positive when dealing with the junction boxes behind your panels. Then, connect the panels to your batteries in series or parallel, depending on your needs. Lastly, connect the battery terminal to the inverter terminal, and then set up your outlets stemming from the inverter terminal.
Keep in mind that you aren’t expected to do all of the setup yourself, especially if you have no experience dealing with circuitry. There are contractors that can handle every step of the setup for you.


