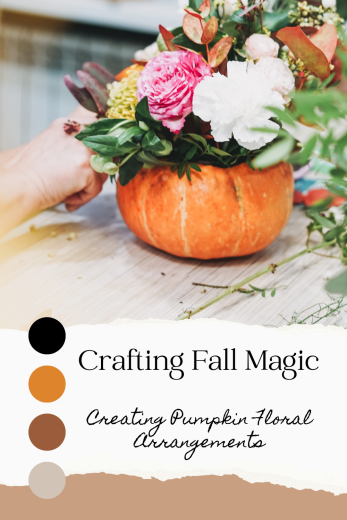
 As the leaves start to change color and the air turns crisp and and you see your breath in the mornings, it’s time to embrace the beauty of fall and bring the spirit of the season into your home. One delightful way to do this is by crafting your very own pumpkin floral arrangements. These stunning creations not only add a touch of autumnal charm but also make for unique centerpieces and decor for various fall gatherings. In this blog post, we’ll guide you through the process of creating these enchanting pumpkin floral arrangements, step by step.
Materials You’ll Need:
- A medium-sized pumpkin (real or artificial)
- A sharp knife or pumpkin carving tools
- A scoop or spoon for removing seeds and flesh
- A waterproof container (such as a plastic or glass container)
- Floral foam
- Fresh or artificial fall flowers and foliage
- Pruning shears or scissors
- Floral wire
- Hot glue gun and glue sticks
- Ribbon or twine (optional)
Step 1: Prepare Your Pumpkin
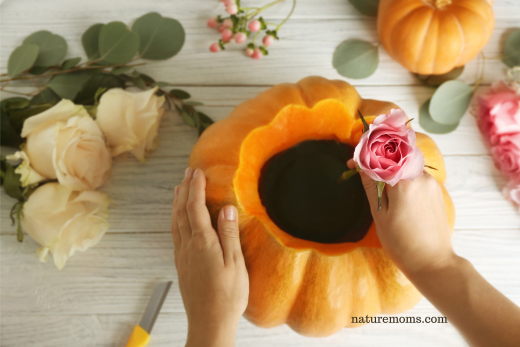
If you’re using a real pumpkin, carefully cut off the top, creating a lid. Be sure to angle the cut slightly inward to ensure the lid stays in place. For artificial pumpkins, simply skip this step.
Step 2: Scoop Out the Insides
If using a real pumpkin, scoop out the seeds and flesh from the pumpkin, creating a hollow cavity. Be gentle to avoid damaging the pumpkin’s outer shell. Basically the same for an artificial pumpkin but no seeds to deal with.

Step 3: Insert Floral Foam
Place a piece of floral foam into the waterproof container and secure it in place using hot glue or floral tape. Make sure it fits snugly inside the pumpkin.
Step 4: Arrange Your Flowers and Foliage
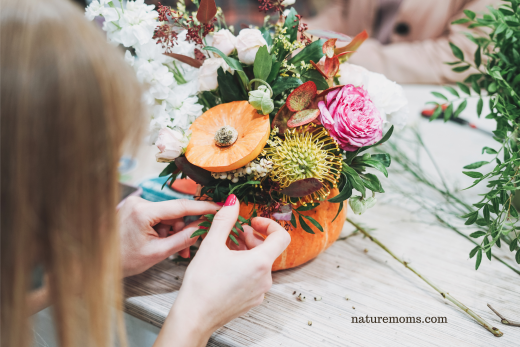
Trim your fall flowers and foliage to the desired lengths using pruning shears or scissors. Start arranging them into the floral foam, beginning with the tallest stems in the center and gradually working your way outwards. This will create a visually pleasing cascading effect.
Step 5: Add Depth and Texture
To add depth and texture to your arrangement, use a combination of different flowers and foliage in various colors and shapes. Incorporate seasonal elements like mini pumpkins, acorns, or pinecones to enhance the fall theme.

Step 6: Secure Your Arrangement
Use floral wire to secure the stems firmly in place. This will prevent them from shifting or falling out of the foam.
Step 7: Optional Ribbon or Twine
For an extra touch of rustic charm, wrap ribbon or twine around the base of the pumpkin where it meets the container.
Step 8: Display with Pride
Your stunning pumpkin floral arrangement is now ready to be displayed! Place it as a centerpiece on your dining table, mantle, or any other spot in your home that needs a touch of fall magic.
Creating pumpkin floral arrangements is a creative and enjoyable way to celebrate the beauty of the fall season. With a few simple materials and a touch of imagination, you can craft stunning decorations that will impress your guests and add warmth to your home. So, why not embrace the spirit of autumn and try your hand at this delightful DIY project? Your pumpkin floral arrangements will surely become a cherished part of your fall traditions.


