Guest post by Debbie Steinberg Kuntz, founder & editor of Odyssey Outdoors.

If you want to know where your food comes from, there’s no better way than to grow it yourself! That’s just what we did with a group of families last weekend in the outdoor family group we formed about a year ago. We followed these 10 easy steps.
1. Gather supplies.
We started with newspaper, some beautiful organic seeds that would grow in early spring in our area, organic potting soil, popsicle sticks and markers for labeling, and shoeboxes for transporting the seedling bundles back home.
The beauty of using newspaper is that we didn’t need to buy pots, and the newspaper can be planted directly in the ground and will quickly biodegrade.
2. Discuss with kids where our food comes from.
First we talked about how our food is grown. How do we know how many chemicals were used? We explained to the kids that the best way to know is to talk to people at the grocery store, form relationships with farmers and best of all, grow it yourself!
3. Demonstrate how to create the origami newspaper pot.
Before beginning, a couple of the adults watched this video. Note that the woman in the video is in Germany and she uses a different size newspaper than in the U.S. In the U.S. you will need to trim about 2 inches from the long side of your newspaper before folding.
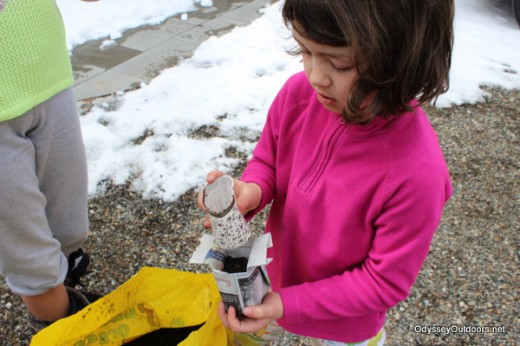
Here one of our group moms demonstrates how to make the origami newspaper pot.
4. Work in adult/child pairs if possible.
Research shows that it’s an asset for kids to have non-parent adults who they can trust in their lives. In our outdoor group we often work in non-parent adult/child pairs to build community long term.
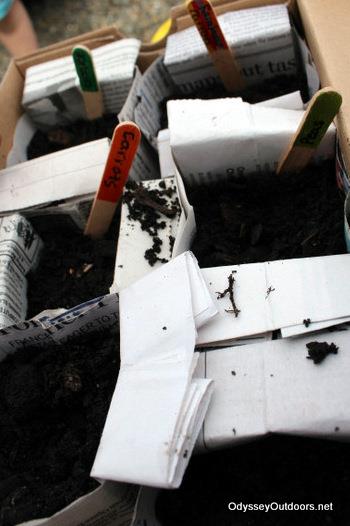
5. Color popsicle sticks to label each seed pot.
We used a background color similar to the vegetable, and then spelled the name of the veggie on top.
6. Fill the origami newspaper pots with organic potting soil.

7. Label each pot with the popsicle stick labels.
8. Put the seed bundles in a shoebox for easy transport and watering.
9. Time to plant the seeds!
Make sure to use organic seeds that grow well in your area.

10. Your seedlings are ready to grow!
Bring home the seedlings and water them just enough so that the soil stays damp, but the newspaper doesn’t fall apart. Wait until sprouts appear and then bring them outside during the day, in a shady spot for a few days. Then gradually move them into the sunshine. Then, they’re ready to go in the ground! Tips on planting them in the garden can be found here.
And that’s how we start growing, and soon eating, our super-local, organic food!


