 Kombucha is pretty expensive to buy and yet it is so delicious, healthy, and great as an alternative for those of us who are tempted by soda that it becomes an easily justified expense. Well until you realize just how easy it is to make yourself that is. We have now established a pretty efficient brewing method in our home and we have gone from spending $4-5 dollars per bottle at the store to home brewed Kombucha for about .17 cents a bottle. Plus we are reusing all the Kombucha bottles we bought. So yummy, so good for you, and now…so cheap.
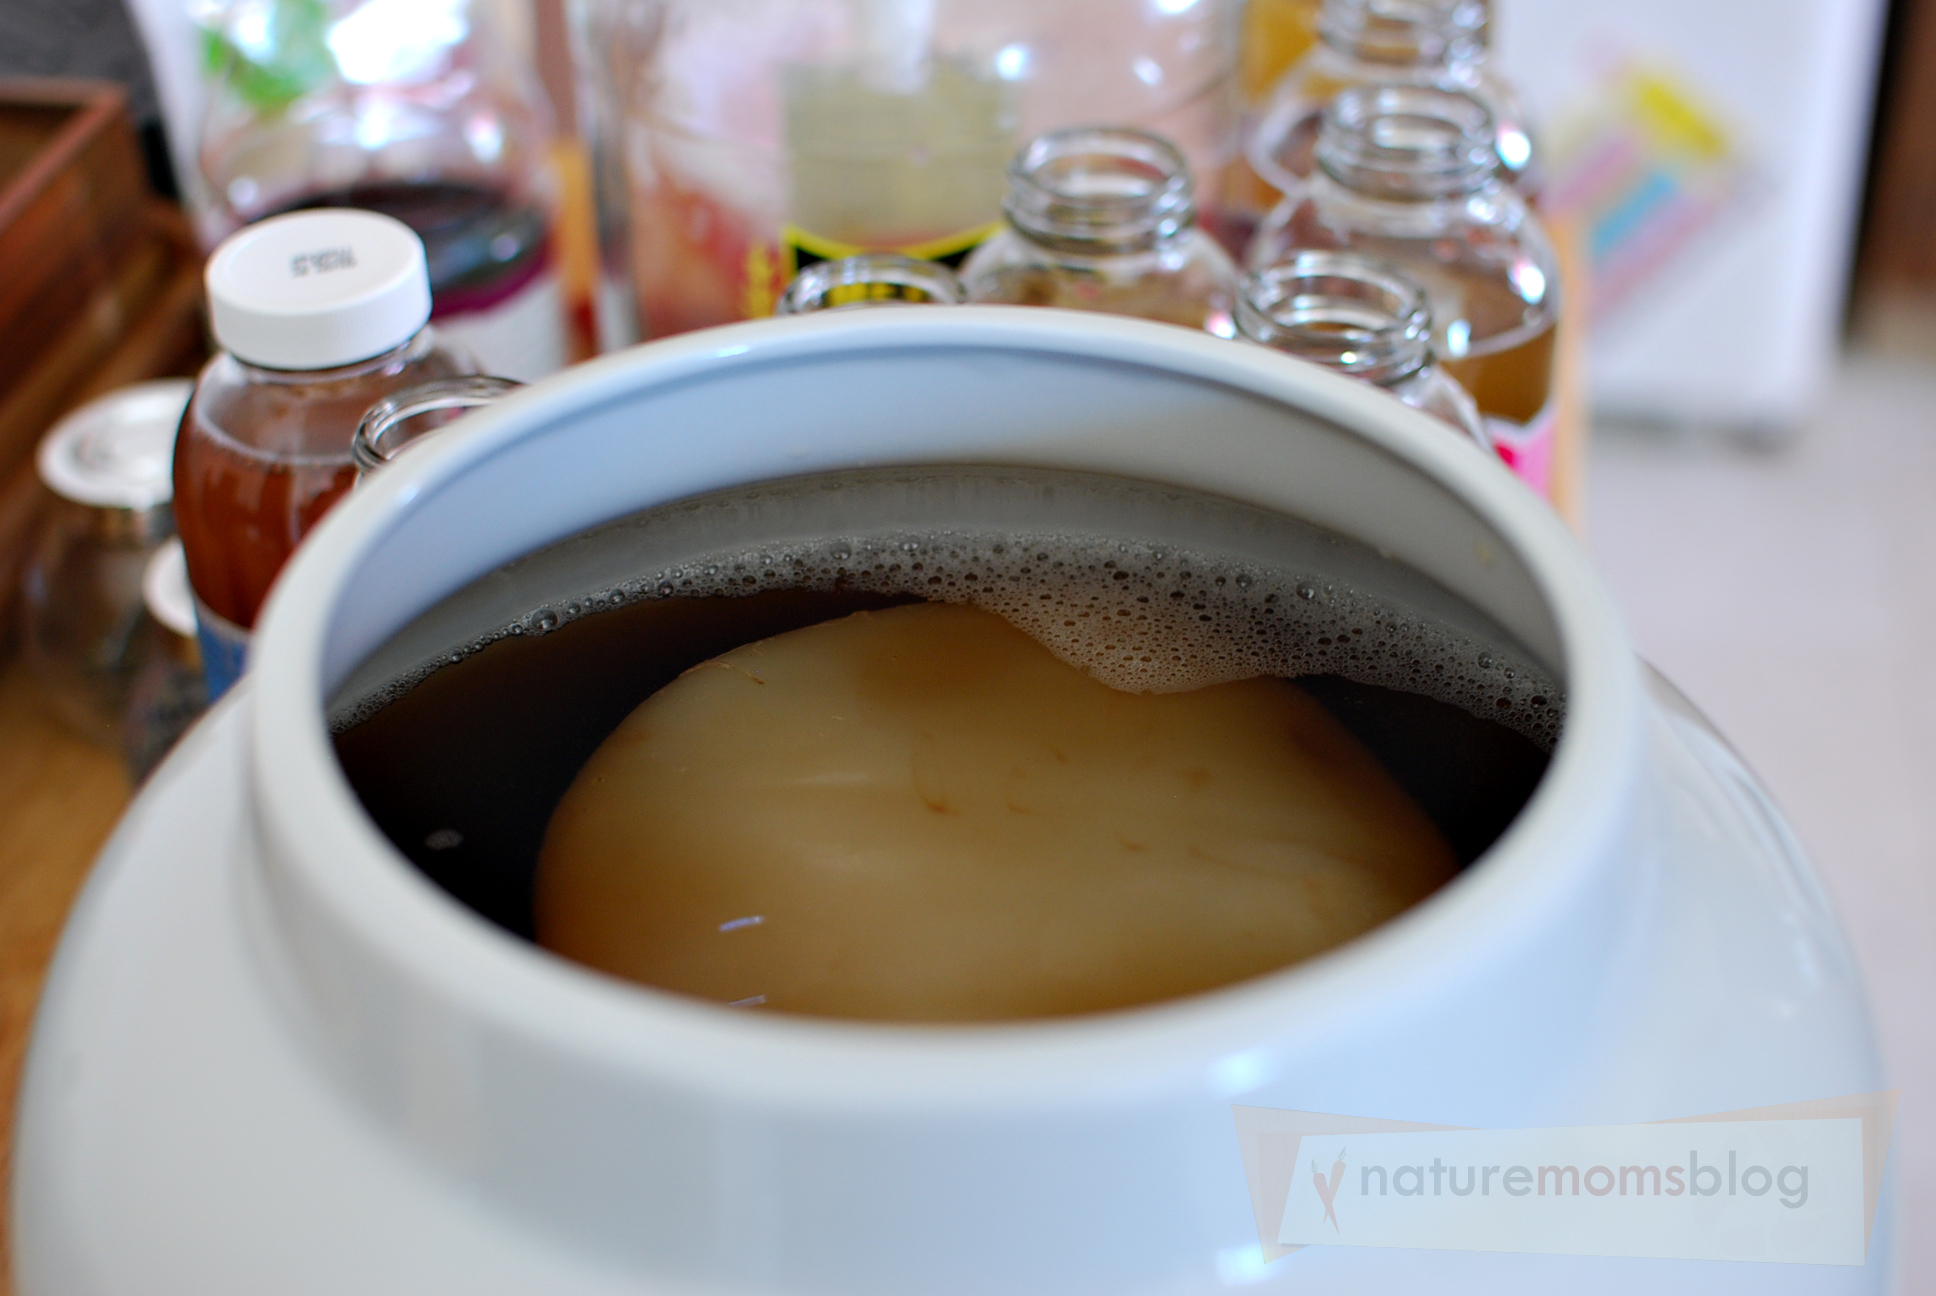
For those that don’t know, Kombucha is fermented tea made with tea, sugar, and a SCOBY or Symbiotic Colony of Bacteria and Yeast. It is full of probiotics and other healthy amino acids, has been consumed for thousands of years, and has been used medicinally in many countries and cultures. The image below is a SCOBY…the grayish, whiteish blob that goes in the tea and causes the fermentation process.
Not real attractive I admit, but the finished product tastes divine and I don’t even like tea. I cannot stand iced tea (I call it dirt water) and most hot teas don’t tempt me much either. So imagine my surprise when my husband got me to take a sip of his Kombucha and I discovered that I loved it. It was fizzy, sweet, and very much like a soda pop with just a hint of a tea taste. The flavors were abundant and some were even swimming with yummy chia seeds. I was hooked and if you buy it in stores then you know well why one would want to brew it at home…it’s expensive!! I quickly decided that if I wanted to keep myself stocked with Kombucha I had to make it myself and lucky for us it is actually very, very easy.
The process did not start out smooth though. The first two batches ended up going down the drain because mold formed. The first batch we had out on our kitchen counter, next to the stove and the second batch we put in a cupboard that was drafty and dusty. Both times I think that foreign particles got inside the jar and caused the mold. For our third and subsequent batches we put our ferment jars in our upstairs linen closet where there is no dust or dirt floating around, the temperature is warm and stable, and they don’t get disturbed. We also switched jars from a huge one that had a spout to a smaller one that did not. We have had no problems since.
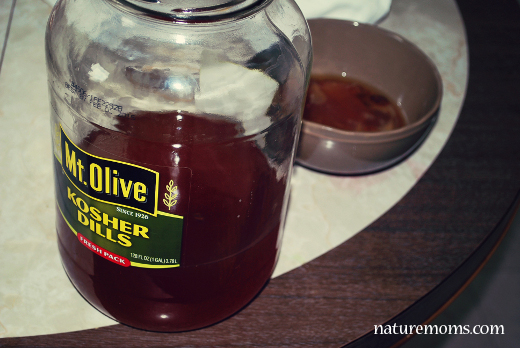
We currently use re-purposed gallon size pickle jars to brew our Kombucha. We bought them from Wal-Mart, threw out the pickles (because we only eat Bubbies brand), and that is what we now use, along with cheese cloth on top of each jar, secured with rubber bands. There are Kombucha Home Brew Kits available but we wanted a super cheap set up so we went with repurposed when we could and we bought our SCOBY on eBay.
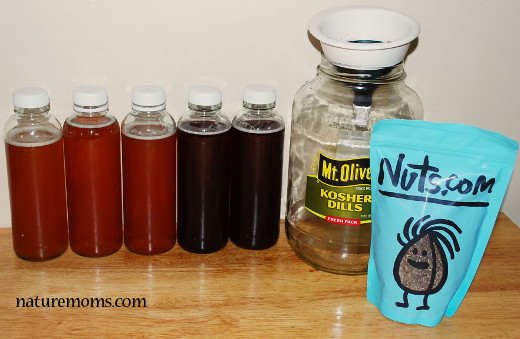
We have been using an ice tea blend for the tea because that is what we had on hand for the tea drinkers in the home. Every Thursday we harvest and bottle two gallons of Kombucha and start two more brewing. We use a funnel to pour them into the bottles we have left over from commercial Kombucha and we also have several Bormioli Rocco Giara Bottles in various colors that we use. It is important to us to have bottles that seal so that the tea stays fizzy.
Some we drink as is and others we flavor with juice (cherry) and we add chia seeds to the majority of them. We all love the texture and it is added nutrition. Not a whole lot of work but the rewards are great. Once you have the jars, bottles, and a SCOBY you only need to buy tea, sugar, and anything optional that you add to the finished product like chia seeds and juice. You may also need to buy water unless you have a really good filter for your tap as chemicals and other common water contaminants can kill your Kombucha and SCOBY. You can harvest new SCOBYs for other batches from your original one. Pretty soon you will be giving them away and composting them as you get a new one with each batch. You will also grow to love the process…
Stuff You Need:
A one gallon glass jar
Glass bottles to pour the finished Kombuchas into
A scoby
Tea (organic black tea or a blend of black and green)
Sugar – Regular granulated sugar, no natural sweeteners (they won’t work)
A cloth cover (I use a flour sack dishtowel)
Rubber bands to seal it closed and keep bugs from getting inside
The Process:
Brew about 8 bags of tea with 3½ quarts of purified water. Add one cup of regular white sugar and allow to cool. Don’t worry about using white sugar either. It is not for you it is for the scoby to feed on and the sugar content at the end will be very low. Pour into your brewing jar, leaving room at the top for your scoby and for 1-2 cups of Kombucha leftover from a previous batch. If this is your very first time making it then use whatever liquid came with the scoby you purchased.
Cover the jar, secure it, and put it aside in a warm place (70-75 degrees) where it will not be disturbed for 7-20 days. Taste test after 7 days and see how you like it. If it is still really sweet and not very bubbly then let it go longer. Our sweet spot is about 14 days. Pour into small bottles rather than large ones or pitchers, this will cause your brew to lose its fizziness faster. Enjoy!
Have you tried to brew Kombucha at home yet???
Recommended: True Brews: How to Craft Fermented Cider, Beer, Wine, Sake, Soda, Mead, Kefir, and Kombucha at Home



We all love kombucha in my family, but you’re right, it’s getting very expensive. Brewing your own looks very tempting. Thanks for sharing, I’ll definitely give it a try.
I hope you do! :)
We have just started our 2nd batch as well. The first batch tasted too sweet and I think it was my fault for forgetting the cheese cloth and put the lid back on it.
It is funny I do the exact same thing you do with the bottles, I clean them, soak them in hot soap water and then with my knife scrap the label.
I’m a bit of a tea nut from living in Japan and Kombucha is my newest part to the puzzle. I got another week or so on the 2 batch and will let you know.
Also here is a tip that I learned from my kombucha teacher. For more bubbles, when funneling create more bubbles through airtration. The more shake up in bubbles at that part the better it will be when you drink it.
I will have to look into the Bormilio bottles as well.
Pingback: 10 Ways to Reuse Tea Bags | Nature Moms Blog
I can’t wait to make my first batch, I’ve been saving all my GT’s bottles for the past few weeks and almost have a full dozen to use for my own brew! I’d like to make a copy-cat of GT’s Mystic Mango, do you have any tips for encouraging fizzy, fruity kombucha?
The Kombucha will be fizzy on its own after brewing. Though not as fizzy as GT. I think they give theirs some extra carbonation. You can make a mango flavor by adding concentrated mango juice after it is done. Or you can add some juice and let it brew again for a couple days.
Pingback: May In Review | Blog - LaureeOhOhOh
Pingback: Easy Tips for Composting at Home